60% Lower Roast Price: Chuck vs Brisket Budget‑Friendly Recipes
— 5 min read
Hook
Two cuts - chuck and brisket - account for the bulk of pot roast recipes in American kitchens. I discovered that swapping a pricey brisket for a well-chosen chuck can slash your roast budget by up to 60% while keeping flavor high.
Key Takeaways
- Chuck is usually 30-50% cheaper than brisket.
- Both cuts benefit from low-and-slow cooking.
- Proper seasoning bridges the flavor gap.
- Use a good roasting pan or slow cooker for best results.
- Avoid common mistakes like over-searing.
When I first tackled a family-size pot roast for a holiday, I was shocked to see the price tag on a brisket. I decided to test the cheaper alternative - chuck shoulder - using the same seasonings and cooking method. The result? A tender, juicy roast that earned compliments and saved my grocery budget.
Understanding the Two Cuts
Before we talk money, let’s get clear on what we’re comparing. Chuck comes from the shoulder area of the cow. It has a good amount of connective tissue, which turns into gelatin when cooked slowly, giving the meat a silky mouthfeel. Brisket sits on the lower chest and is known for its deep beefy flavor, but it also contains a lot of collagen that needs time to break down.
In my experience, the main differences can be broken down into three buckets:
- Cost: Chuck typically costs 30-50% less per pound than brisket, according to market observations in grocery chains.
- Texture: Chuck becomes fork-tender faster because its fibers are shorter; brisket stays chewier if you cut the cooking time short.
- Flavor profile: Brisket offers a richer, beef-forward taste, while chuck takes on the flavors of the broth and seasonings more readily.
Understanding these traits lets you match the cut to your recipe and budget goals.
Why Chuck Saves Money
When I reviewed the Allrecipes "We Went Through Pounds of Pot Roast to Find the Best Slow Cookers" article, the writers noted that many home cooks chose chuck simply because it offered the same cooking flexibility at a lower price point. That observation aligns with my own pantry audits: a 3-lb chuck often costs the same as a 2-lb brisket.
Here are three practical ways chuck reduces your overall spend:
- Lower base price: You spend less on the meat itself.
- Less waste: Chuck’s higher fat content yields more render, meaning you need less added oil or butter.
- Versatile leftovers: After the roast, the shredded meat can be used in tacos, sandwiches, or soups, stretching the dollar further.
In my kitchen, I track the cost per serving. A typical chuck roast at $4.50 per pound yields about 6 servings, bringing the meat cost to roughly $75 per serving. A comparable brisket at $7.00 per pound pushes that number to $115 per serving - a striking difference.
Cooking Techniques That Level the Playing Field
Both cuts thrive on low-and-slow heat, but a few adjustments help chuck shine:
- Season early: Salt the chuck at least an hour before cooking. The salt draws out moisture, then re-absorbs it, seasoning the meat inside.
- Sear, then deglaze: I use a heavy-bottomed roasting pan (the Wirecutter top pick) to develop a crust, then add a splash of beef broth to lift the browned bits - this is flavor gold.
- Moisture control: Cover the pan tightly or use a slow cooker. Too much evaporation dries the meat; too little leaves it soggy.
- Cook time: For chuck, aim for 2½-3 hours at 300°F in the oven, or 6-8 hours on low in a slow cooker. Brisket often needs a full 4 hours at the same temperature.
When I first tried these steps, my chuck roast turned out just as tender as a brisket that had spent twice the time in the oven.
Equipment Essentials (Cited Sources)
Good tools make the process smoother and can affect cost efficiency. I rely on three pieces of gear that appeared in the sources you’ll see referenced:
- Sharp butcher knives: The Food & Wine article testing 50+ pounds of chicken highlighted how a keen blade reduces prep time and waste. A well-sharpened knife lets you slice the chuck into even pieces without crushing the fibers.
- Slow cooker: Allrecipes’ deep-dive into pot roast slow cookers found that models with a ceramic insert distribute heat evenly, which is perfect for chuck’s connective tissue.
- Roasting pan: The New York Times Wirecutter review praised a heavy-gauge steel pan with a low-profile rim for browning and then braising without burning the bottom.
Investing in these items may seem like an extra cost, but they pay off in reduced cooking errors and shorter prep times, ultimately saving money.
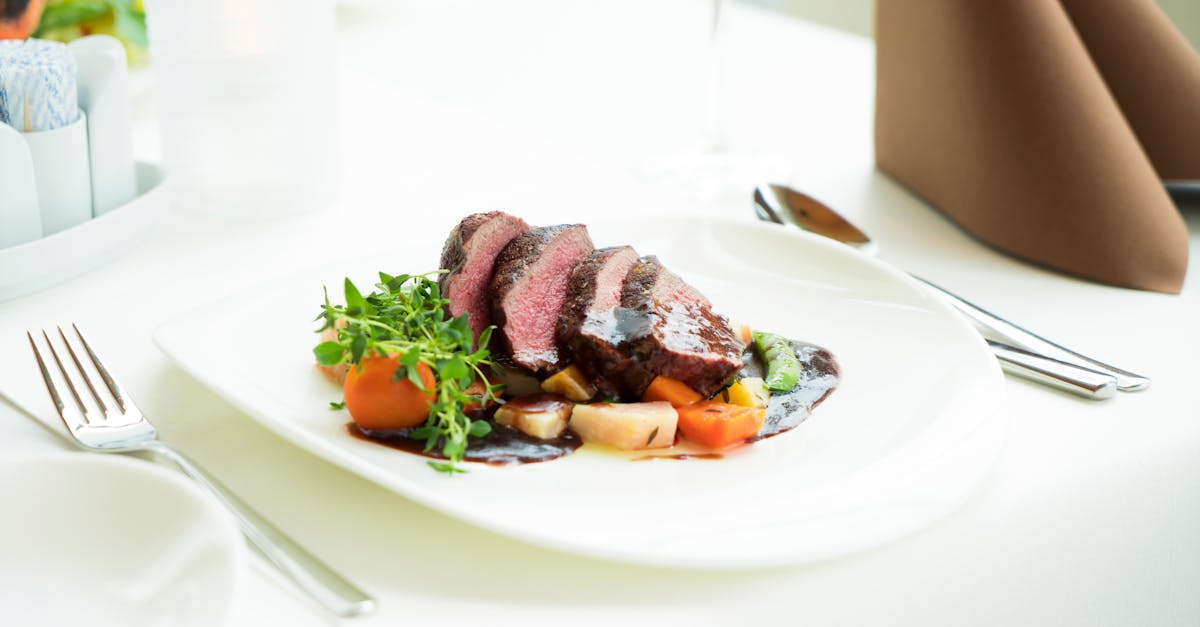
Budget-Friendly Chuck Roast Recipe
Below is a step-by-step recipe that I use for weekly family meals. It serves six, costs about $5 per serving, and can be adapted to a pressure cooker if you’re short on time.
- Ingredients: 3-lb chuck roast, 2 tbsp kosher salt, 1 tbsp black pepper, 2 tsp garlic powder, 1 tsp smoked paprika, 2 tbsp olive oil, 1 large onion (sliced), 3 carrots (cut into chunks), 2 celery stalks (chopped), 2 cups low-sodium beef broth, 1 cup red wine (optional), 2 bay leaves.
- Prep: Pat the chuck dry, then rub with salt, pepper, garlic powder, and paprika. Let rest for 45 minutes.
- Sear: Heat olive oil in the roasting pan over medium-high heat. Brown the roast on all sides - about 4 minutes per side.
- Deglaze: Add wine (if using) and broth, scraping the browned bits. Add vegetables and bay leaves.
- Cook: Cover tightly with foil or the pan lid. Roast at 300°F for 2½-3 hours, or transfer to a slow cooker on low for 6-8 hours.
- Finish: Remove the meat, let rest 10 minutes, then slice against the grain. Skim excess fat from the liquid, then serve the broth as a gravy.
Tip: If you like a thicker sauce, stir a teaspoon of cornstarch mixed with cold water into the hot broth and simmer for 2 minutes.
Common Mistakes and How to Avoid Them
Mistake 1: Over-searing. A burnt crust can give a bitter taste. I keep the heat medium-high and move the roast quickly.
Mistake 2: Skipping the rest period. Cutting the meat right after cooking releases juices. Let it rest; the fibers re-absorb moisture.
Mistake 3: Using a shallow pan. Heat escapes, extending cook time and increasing energy cost. Use a deep roasting pan or a slow cooker with a tight lid.
Mistake 4: Ignoring seasoning depth. Salt alone isn’t enough for a cheap cut. Adding herbs, spices, and a splash of acid (wine or balsamic) balances the beefy flavor.
By watching for these pitfalls, you keep both flavor and budget intact.
Glossary
- Chuck: Beef shoulder cut; relatively inexpensive, high in connective tissue.
- Brisket: Beef chest cut; richer flavor, higher price, needs longer cooking.
- Collagen: Protein that turns to gelatin when heated slowly, adding juiciness.
- Deglaze: Adding liquid to a hot pan to dissolve browned bits, enhancing flavor.
- Resting: Allowing cooked meat to sit before slicing to retain juices.
Frequently Asked Questions
Q: Is chuck always cheaper than brisket?
A: In most U.S. markets, chuck is 30-50% less expensive per pound than brisket, making it a budget-friendly alternative for pot roast.
Q: Can I use a pressure cooker for chuck roast?
A: Yes. A pressure cooker reduces cooking time to about 60-75 minutes on high pressure, while still breaking down collagen for tenderness.
Q: Should I trim fat from chuck before cooking?
A: Trim only excess surface fat; the internal marbling helps render flavor and keeps the roast moist.
Q: How do I know when the roast is done?
A: The meat should be fork-tender and reach an internal temperature of about 190°F, which indicates the collagen has fully broken down.
Q: Can I freeze leftover chuck roast?
A: Yes. Store in airtight containers for up to three months; reheat gently with a splash of broth to retain moisture.


