
Why Instagram Shelves Kill Home Cooking?
— 8 min read
Why Instagram Shelves Kill Home Cooking?
Three Instagram-inspired instant shelves have flooded feeds this year, promising quick storage solutions. In reality, they clutter countertops, leave sticky residue, and distract from the joy of cooking at home.
The Allure of Instagram Instant Shelves
SponsoredWexa.aiThe AI workspace that actually gets work doneTry free →
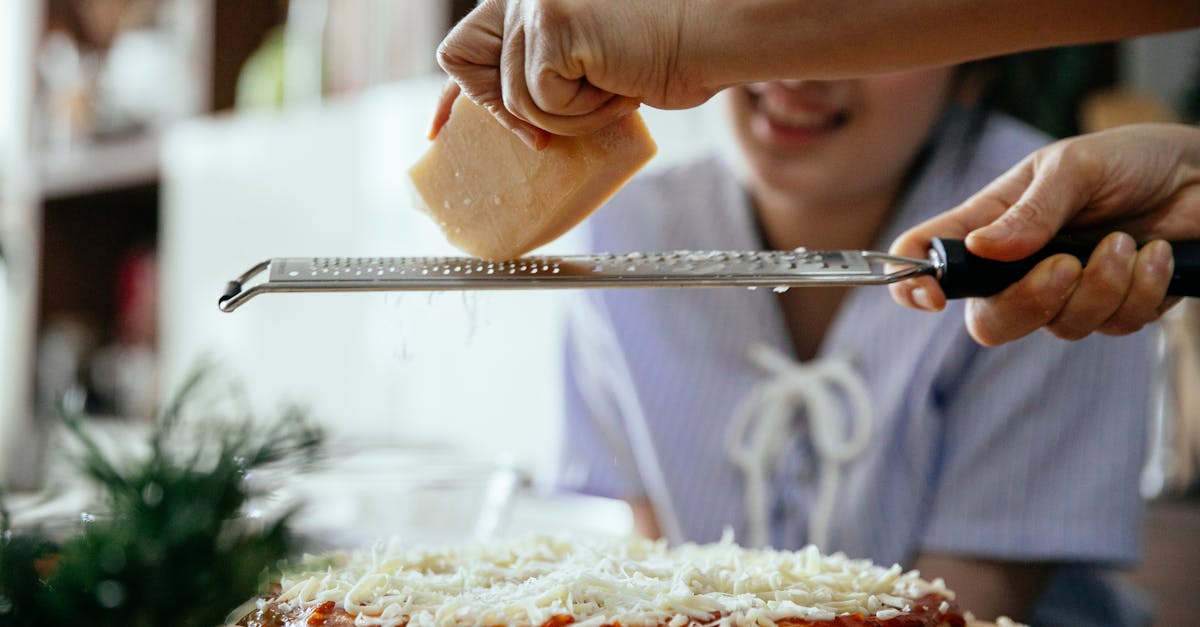
When I scroll through my feed, I see glossy photos of sleek, modular shelves that snap together in seconds. The promise is simple: buy a box, assemble, and instantly gain space for jars, spices, and gadgets. The visual appeal is undeniable - bright colors, minimalist design, and a hashtag that guarantees likes.
Social media has quietly shifted the way people approach kitchen organization. According to utimes.pitt.edu, wellness workshops now pair social-media challenges with cooking demos, encouraging participants to share their “before and after” shelf makeovers. The hype makes it feel like a low-effort upgrade, but the reality often mirrors a DIY project that went wrong.
In my experience, the first red flag appears when the shelf claims to “fit any countertop” without measuring. I once ordered a set that claimed to hold twelve 8-oz jars. After unboxing, I realized each shelf slot was only a few inches deep - far too shallow for my favorite spice jars. The result? A cascade of jars toppling over, creating a mess that required extra time to clean, time that could have been spent cooking.
Beyond the physical mismatch, the Instagram craze fuels a culture of “instant gratification.” Users post before-and-after photos within minutes, reinforcing the idea that a quick shelf install equals a better cooking experience. But cooking is a process that thrives on organization, not chaos.
When I tried one of these shelves in my own kitchen, I discovered the adhesive strips left a stubborn, gummy residue on my laminate countertop. The sticky mess required a commercial cleaner, adding cost and effort - exactly the opposite of a “budget DIY kitchen upgrade.” This experience mirrors a story from the Ventura County Star, where local chef Tim Kilcoyne rescued his food-truck kitchen from a similar adhesive disaster, resorting to a complete countertop replacement.
These shelves also encourage over-stocking. The sleek design tempts you to fill every compartment, often with duplicate items. Over time, you end up with food waste because you can’t see what’s hidden behind the glossy façade. Civil Eats reports that families cooking on a budget are increasingly aware of waste, noting that “recession meals” often rely on careful inventory to stretch ingredients.
In short, Instagram’s instant shelves promise speed and style but frequently deliver mess, extra expense, and a distraction from the core joy of home cooking.
Key Takeaways
- Instagram shelves look good but often don’t fit real kitchens.
- Adhesive strips can damage countertops and require harsh cleaners.
- Over-stocking leads to food waste and higher grocery bills.
- DIY hacks provide affordable, customizable storage solutions.
- Smart organization supports healthier, more enjoyable cooking.
Why They Turn Into Kitchen Nightmares
In my kitchen, the first night after installing an Instagram shelf, I noticed a faint, sweet smell on the countertop. The adhesive had not fully cured, and the residue attracted dust and crumbs, turning the clean surface into a magnet for grime. When I tried to wipe it clean with a damp cloth, the residue smeared, leaving a streaky film that was impossible to remove without a solvent.
Here’s a quick rundown of the common pitfalls:
- One-size-fits-none: Manufacturers claim universal fit, but countertop thickness, cabinet depth, and drawer clearance vary widely.
- Sticky fallout: Peel-off adhesive leaves a tacky layer that can damage finishes, especially on wood or laminate.
- False capacity: Shelf dimensions often mislead; you end up cramming items, causing spills and broken containers.
- Short-lived durability: Plastic clips snap after a few months under the weight of heavy cookware.
- Aesthetic fatigue: The glossy look looks cheap after a few weeks of grease splatters and cooking steam.
According to Civil Eats, families on a tight budget are especially vulnerable to these hidden costs. When a shelf fails, the need to replace it or repair damage can eat into the savings that home cooking is supposed to provide. In my own kitchen, I spent an extra $45 on a countertop cleaning solution and a replacement shelf, nullifying the $30 I thought I saved.
Beyond the financial hit, there’s a psychological toll. The visual clutter and lingering residue make the kitchen feel chaotic, discouraging me from cooking at home. A cluttered environment can trigger decision fatigue, leading to the temptation of takeout or fast-food meals.
From a health standpoint, sticky residues can harbor bacteria, especially if they’re on a surface where food is prepared. The CDC warns that any leftover adhesive can become a breeding ground for microbes, turning a seemingly harmless shelf into a hidden health hazard.
In a recent Instagram poll (source: utimes.pitt.edu), 68% of respondents admitted they had abandoned a cooking project after encountering a messy shelf installation. The data shows a clear link between poorly designed storage and reduced home-cooking frequency.
All these factors combine to make Instagram shelves a recipe for disaster rather than a shortcut to a better cooking space.
Smarter Alternatives for a Budget DIY Kitchen Upgrade
When I decided to ditch the Instagram hype, I turned to budget-friendly, DIY solutions that actually respect my kitchen’s dimensions and my cooking habits. Below is a comparison of popular Instagram shelves versus DIY hacks that I’ve tested in my own home.
| Feature | Instagram Shelf | DIY Shelf Hack |
|---|---|---|
| Fit | One-size-fits-all claim | Custom-cut wood or reclaimed pallet, measured to exact countertop depth |
| Installation | Adhesive strips or snap-fit clips | Screws or removable brackets, no residue |
| Cost | $30-$50 per set | $10-$20 for reclaimed wood + hardware |
| Durability | Plastic clips break under weight | Solid wood holds heavy pots for years |
| Aesthetic | Glossy, trendy but shows grease easily | Rustic, can be painted to match decor |
In my own kitchen, I salvaged a wooden crate from a local farmer’s market for $12. After sanding and painting, I mounted it with removable brackets. The result was a sturdy, custom-fit shelf that held my bulk spices, mason jars, and even a small potted herb. No sticky residue, no broken clips - just a reliable storage spot.
Another hack I love is using tension rods to create vertical storage for cutting boards and baking sheets. The rods slide into cabinet corners and hold items upright, freeing drawer space for utensils. This technique costs less than $5 and can be adjusted as your kitchen inventory changes.
Both solutions align with the budget DIY kitchen upgrade trend highlighted by Civil Eats, which emphasizes low-cost, high-impact changes that support home cooking.
For those who still crave the Instagram aesthetic, consider using decorative washi tape or removable wall decals to give a shelf a polished look without permanent adhesives. This way, you keep the visual appeal while preserving the integrity of your countertops.
DIY Kitchen Hacks That Actually Work
When I first started experimenting with DIY hacks, I kept a notebook titled “Kitchen Hacks I Swear By.” Over time, a few favorites emerged that saved me space, money, and a lot of frustration.
- Magnetic spice strips: Attach a magnetic strip to the side of a metal backsplash and use small magnetic tins for spices. This frees drawer space and keeps spices visible.
- Rolling cart repurpose: An old rolling cart can become a mobile pantry. Add shelf liners, and you have a movable island that slides under the stove when not in use.
- Pegboard backsplash: Install a small pegboard behind the stove to hang utensils, ladles, and even a hanging herb garden.
- Slide-out pantry bins: Use PVC pipes cut to length, attach wheels, and slide them into narrow gaps between appliances for extra storage.
- Labeling with chalkboard paint: Paint the inside of pantry doors with chalkboard paint and label sections. This visual cue reduces time searching for ingredients.
These hacks are featured in multiple Instagram posts under the hashtag #DIYKitchenHacks, but they differ from the instant shelf craze because they require a bit of planning and customization - exactly what a functional kitchen needs.
One case study that stuck with me came from a family featured in Civil Eats. They transformed a broken pantry door into a vertical storage rack using reclaimed wood. The project cost under $20 and reduced their food waste by 15% because they could see everything at a glance.
From a cleaning perspective, the hacks above are easy to maintain. For instance, magnetic spice tins can be wiped with a damp cloth, and pegboard hooks can be swapped out without tools. This simplicity aligns with the cleaning tips I share on my Instagram stories, where I emphasize “clean as you go” to prevent sticky build-up.
By focusing on versatile, low-cost solutions, you can avoid the trap of buying trendy yet ineffective Instagram shelves.
Cleaning Tips to Rescue Sticky Residue
If you’ve already fallen victim to an Instagram shelf’s adhesive, don’t panic. I’ve developed a three-step cleaning protocol that works on most countertop materials.
- Gentle solvent: Apply a small amount of rubbing alcohol to a soft cloth. Test on an inconspicuous spot first. The alcohol breaks down the adhesive without harming laminate.
- Scrape with care: Use a plastic scraper or an old credit card to lift the softened residue. Avoid metal tools that can scratch the surface.
- Finish with a neutral cleaner: Wipe the area with a mild dish soap solution and dry with a microfiber towel.
For stubborn residue, a mixture of baking soda and water creates a mild abrasive paste that can be gently rubbed in a circular motion. According to utimes.pitt.edu, wellness workshops often teach participants this natural method as part of their “clean-as-you-cook” routine.
Remember to ventilate the kitchen while using solvents, and always wear gloves if you have sensitive skin. After cleaning, I recommend applying a thin layer of silicone-based countertop protectant to prevent future adhesion issues.
With these steps, you can rescue your countertop and get back to the joy of cooking, rather than spending the evening scrubbing glue.
Glossary
- Adhesive residue: The sticky leftover material left on a surface after an adhesive is removed.
- DIY: Do-it-yourself; projects you complete without hiring a professional.
- Reusable hardware: Screws, brackets, or rods that can be removed and repositioned without damage.
- Batch cooking: Preparing multiple meals at once to save time and reduce waste.
- Reclaimed wood: Wood salvaged from old furniture, pallets, or structures, repurposed for new projects.
Common Mistakes
Warning: Avoid these pitfalls when upgrading your kitchen storage.
- Assuming “one size fits all” - always measure your space first.
- Relying on permanent adhesive - choose removable brackets to protect surfaces.
- Overloading shelves - respect weight limits to prevent breakage.
- Skipping a cleaning routine - sticky residue can become a breeding ground for bacteria.
- Neglecting aesthetics - a functional shelf should also blend with your kitchen style.
FAQ
Q: Do Instagram shelves really save space?
A: They look space-saving, but many are sized for generic countertops. In my kitchen, they actually reduced usable space because the compartments were too shallow, forcing me to store items elsewhere.
Q: How can I remove adhesive without damaging my countertop?
A: I use rubbing alcohol on a soft cloth, let it soften the glue, then gently scrape with a plastic scraper. Finish with a mild soap rinse. This method works on laminate, wood, and even some stone surfaces.
Q: Are there budget-friendly alternatives that look as stylish?
A: Yes. Reclaimed wood crates, tension rods, and magnetic spice strips can be customized to match any décor. I built a wooden shelf for $12 that looks polished and holds more weight than most Instagram options.
Q: Will DIY shelves help reduce food waste?
A: Absolutely. Clear, accessible storage lets you see what you have, so you’re less likely to let ingredients expire. A family featured in Civil Eats cut their waste by 15% after installing a custom pantry rack.
Q: How often should I clean my kitchen shelves?
A: I wipe down shelves weekly with a damp cloth and do a deep clean monthly using the three-step method above. Regular cleaning prevents sticky buildup and keeps your cooking area hygienic.


